Opacity In CapCut Images – Easy Guide for Beginners in 2026
Opacity In CapCut Images is one of those tools that looks simple but changes everything. It controls how transparent or solid an image looks on your screen. Honestly, once you understand opacity, your edits feel cleaner and more professional without extra effort.
Opacity In CapCut Images helps creators mix photos, text, and effects smoothly. Well, whether you are editing reels, thumbnails, or full videos, opacity gives you control over layers. You know, small adjustments can totally change how your content feels to viewers.
Understanding Opacity In CapCut Images
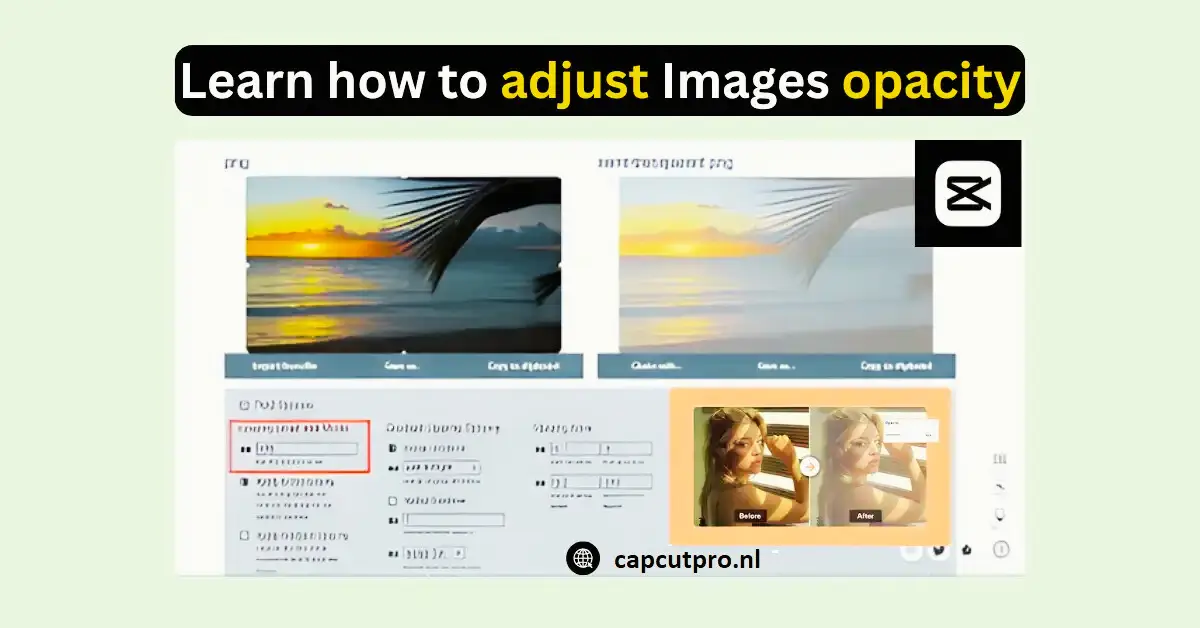
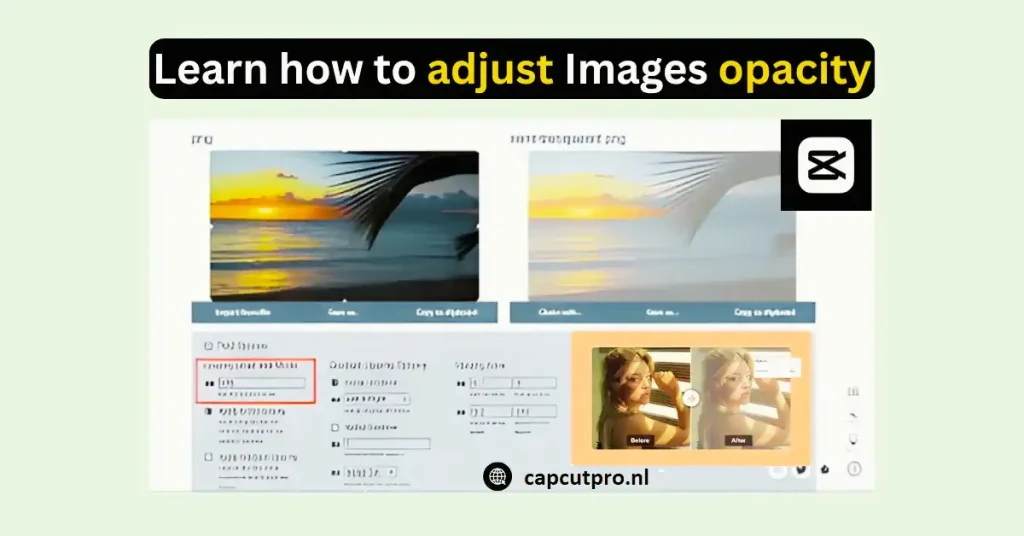
Opacity In CapCut Images simply means how visible an image layer is. When opacity is 100%, the image looks solid. At 0%, it disappears. This feature helps balance visuals without deleting anything, which is super helpful for creative edits.
Opacity In CapCut Images works by adjusting transparency inside the layer panel. CapCut makes it easy with a slider, so even beginners can handle it. Guys, you don’t need editing experience to understand this part at all.
How Opacity In CapCut Images Affects Visual Layers
Opacity In CapCut Images directly impacts how layers stack together. When you lower opacity, the layer below becomes visible. This is useful for overlays, soft backgrounds, and watermark placement.
Opacity In CapCut Images is often used in photo blending. As an illustration, a logo with 30 percent transparency can be added without distracting the viewers. Honestly, this trick alone improves video quality a lot.
How to Adjust Opacity In CapCut Images Step by Step
Opacity In CapCut Images can be adjusted in just a few taps. Select the image layer, tap “Opacity,” and move the slider. CapCut for Android and CapCut for iOS both follow the same simple process.
Opacity In CapCut Images also works smoothly on capcut for pc and CapCut for Mac. Bigger screens help you see changes clearly. You know, PC users love this for detailed editing sessions.
Best Settings for Opacity In CapCut Images
Opacity In CapCut Images usually looks best between 20% and 60% for overlays. Text backgrounds often work well at 40%. These values keep content readable without blocking visuals.
Opacity In CapCut Images can look messy if overused. Beginners often lower opacity too much, making images invisible. Well, always preview before exporting to avoid mistakes.
Creative Uses of Opacity In CapCut Images
Opacity In CapCut Images is great for creating soft backgrounds. You can place an image behind text and reduce opacity for a clean design. This method is popular in tutorials and quote videos.
Opacity In CapCut Images also helps with double exposure effects. Layer two images, reduce opacity, and blend them naturally. Honestly, this gives a pro look without complex tools.
Opacity In CapCut Images for Social Media Content
Opacity in CapCut Images enhances the thumbnails as the text is emphasized whilst keeping the pictures clear. It suits YouTube, Instagram, and Tik Toks.
Opacity In CapCut Images is also useful for watermarks. Set your logo at low opacity to protect content without annoying viewers. Small details like this build trust.
Opacity In CapCut Images Across Different Platforms
Opacity In CapCut Images works consistently on capcut for android and capcut for ios. Mobile users enjoy smooth sliders and instant previews, which saves time.
Opacity In CapCut Images feels more precise on CapCut for PC and CapCut for Mac. Larger displays help control small changes. Honestly, professionals prefer desktop editing for this reason.
Opacity In CapCut Images in Pro and Mod Versions
Opacity In CapCut Images unlocks more freedom in capcut pro. You get advanced effects and smoother transitions with better control.
Opacity In CapCut Images is also popular in CapCut Mod APK and capcut pro apk. Many users choose CapCut Pro APK Download Latest Version for premium features. Well, always download from trusted sources.
Common Problems with Opacity In CapCut Images
Opacity In CapCut Images sometimes resets after export. This usually happens due to app bugs or outdated versions like CapCut Old Versions.
Opacity In CapCut Images may lag on low-end devices. Clearing cache or updating the capcut pro app often fixes this issue.
Tips to Improve Opacity In CapCut Images Results
Opacity In CapCut Images looks better when combined with blur or shadow effects. This adds depth and avoids flat visuals.
Opacity In CapCut Images should always be tested before final export. Preview on full screen to ensure everything looks balanced and clean.
Conclusion
Opacity In CapCut Images is a small feature with a big impact. It helps control transparency, blend layers, and create professional visuals easily. Honestly, once you start using opacity properly, your edits feel more polished and confident.
Opacity In CapCut Images works across all platforms, from mobile to PC. Whether you use free tools or capcut pro apk, mastering opacity improves quality. Well, just keep experimenting and go with your creative gut.
Opacity In CapCut Images is worth practicing daily. Try different values, mix layers, and preview often. You know, great editing comes from small details done right.
FAQs About Opacity In CapCut Images
1. What is Opacity In CapCut Images?
Opacity In CapCut Images controls how transparent an image layer looks, helping blend visuals smoothly without deleting any content.
2. How do I change Opacity In CapCut Images?
Select the image layer, tap opacity, and move the slider until the transparency looks right.
3. Does Opacity In CapCut Images work on PC?
Yes, Opacity In CapCut Images works perfectly on capcut for pc and CapCut for Mac.
4. Is Opacity In CapCut Images available in free version?
Yes, basic opacity controls are available in the free version of CapCut.
5. Why does Opacity In CapCut Images reset after export?
This usually happens due to bugs, outdated apps, or using older CapCut versions.
6. Can Opacity In CapCut Images improve thumbnails?
Yes, using opacity helps highlight text while keeping images visible and attractive.